Are you preparing the HP Microserver G8 to use as NAS with the new OS in the NAS market named ZimaOS?
I had in the same situation 😁
This small server is so useful to use nowadays as a NAS device and the new OS created by Zima it is a great oportunity to do it. But you must know that we have a great problem:
HP Microserver is a BIOS motherboard and ZimaOS require UEFI 😢
☝️ But in this article we are going to prepare the server to follow with installation of ZimaOS.
Requirements
- PCIe Graphic card. I used a medium size card Gigabyte N-1030.
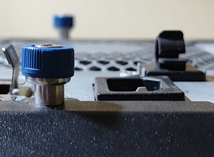
- Screw T15
Steps to remove the cover
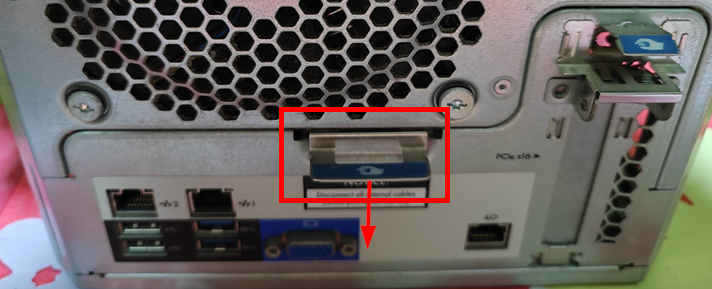
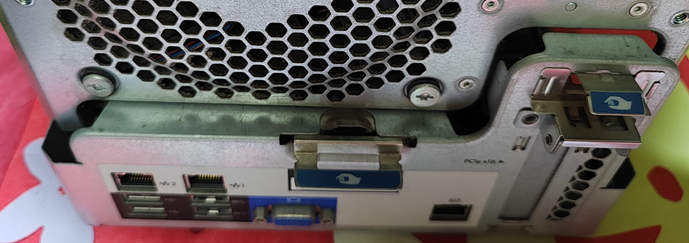
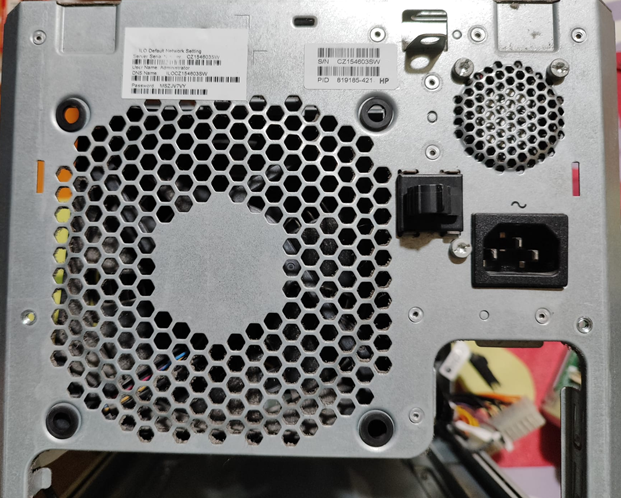
After you disconnected all wires of backpanel the microserver see like this:
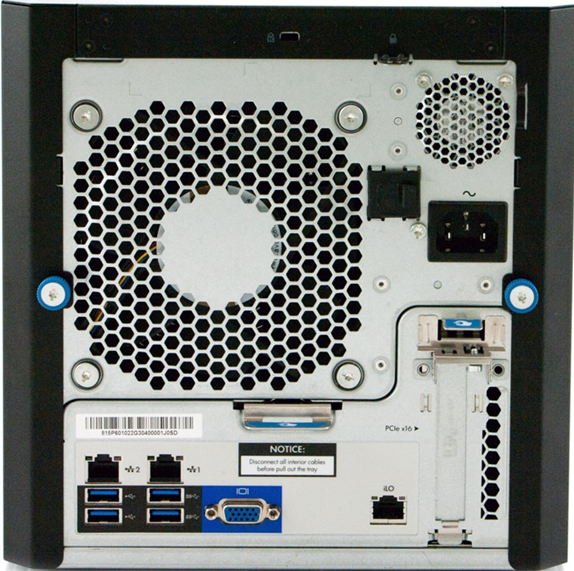
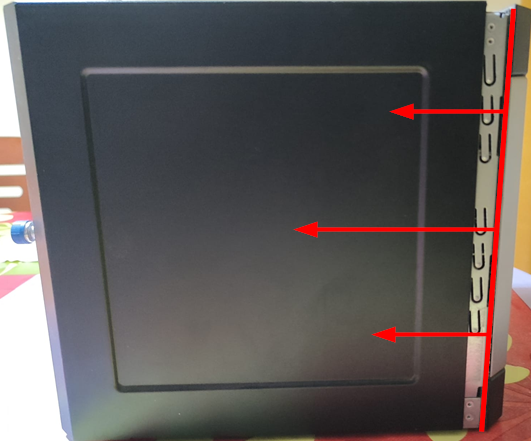
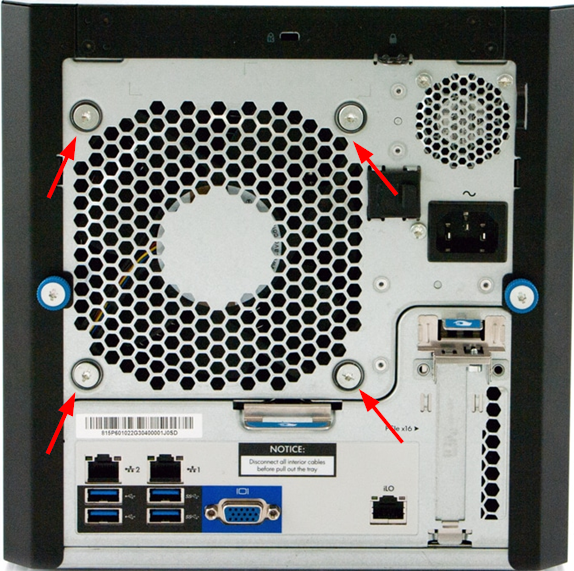
Now you must loosen the crews and remove the cover:
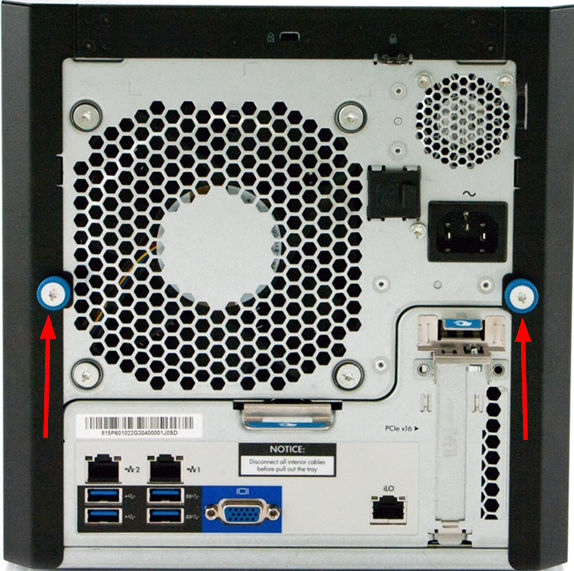
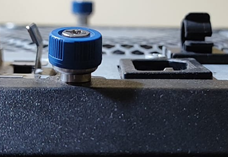
Before and after unscrewing the screw
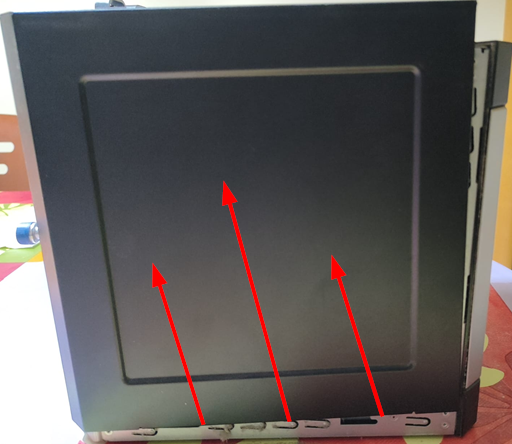
After unscrew the back screws we need to remove the cover. Push the cover from the frontal line to back and after move and you can see the internal body take the cover and raise up:

Steps to disconnect motherboard
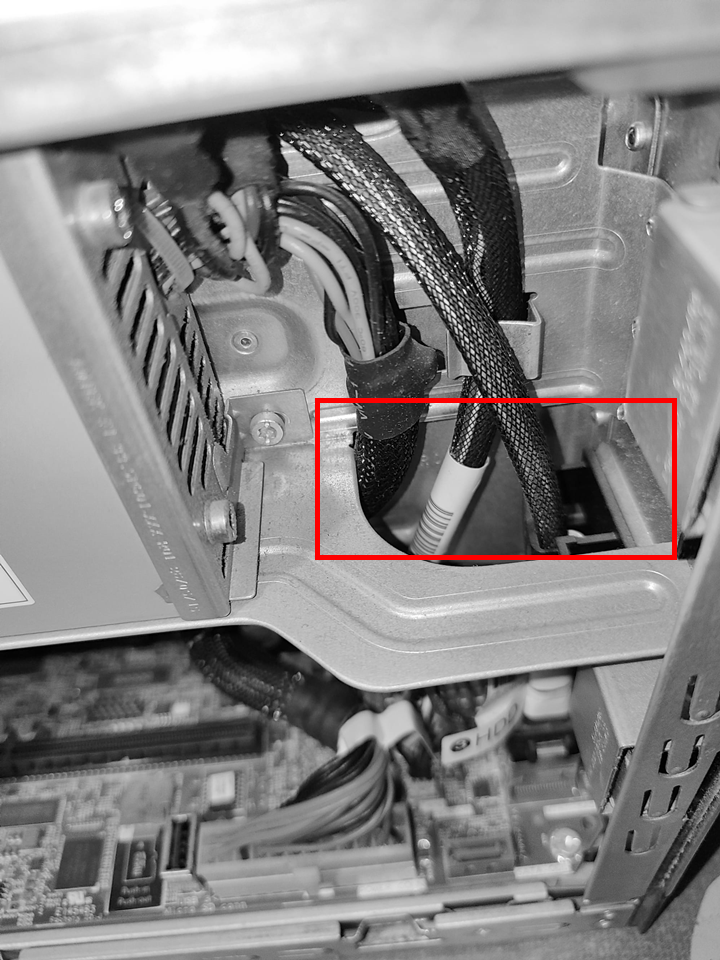
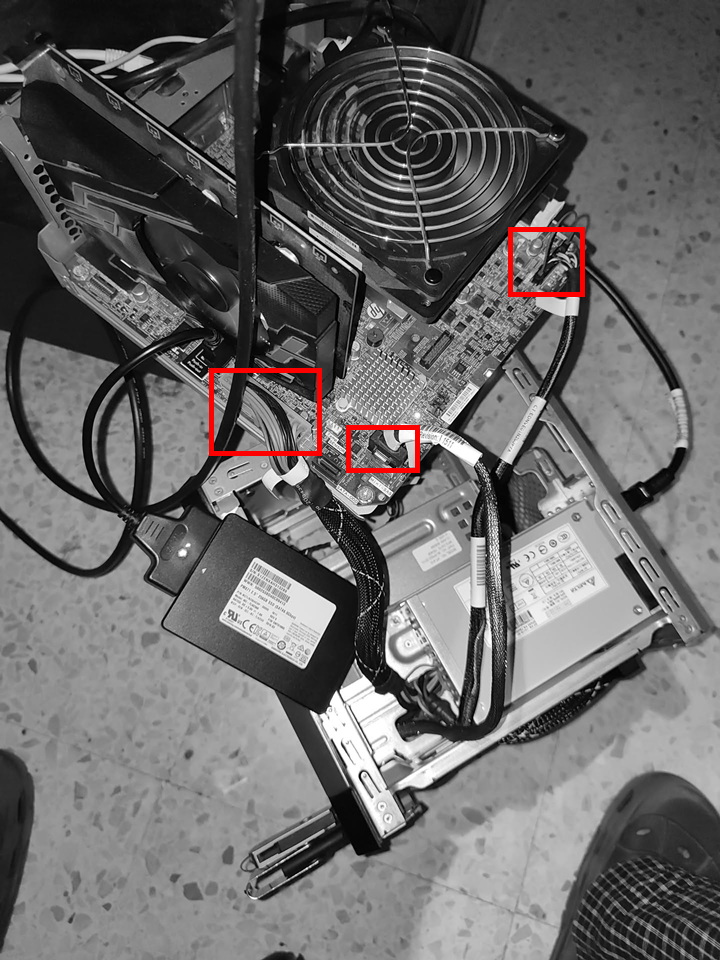
After remove the cover, we're going to disconnect from motherboard the cable connections; supply, frontal rack, frontal panel, sensors and rear fan:
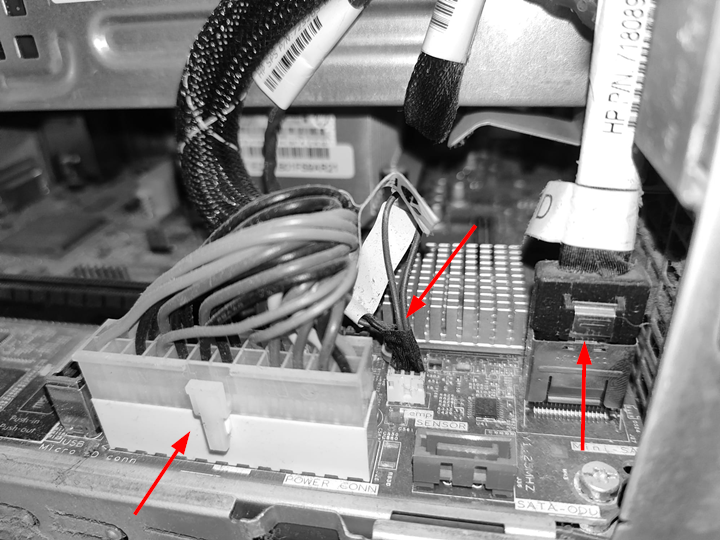
To remove the connector of the power supply and frontal rack, we need to push the secure tab of connector and raise. With the sensors cable, we need pull from the loop to top carefully because we can damage the connectors.
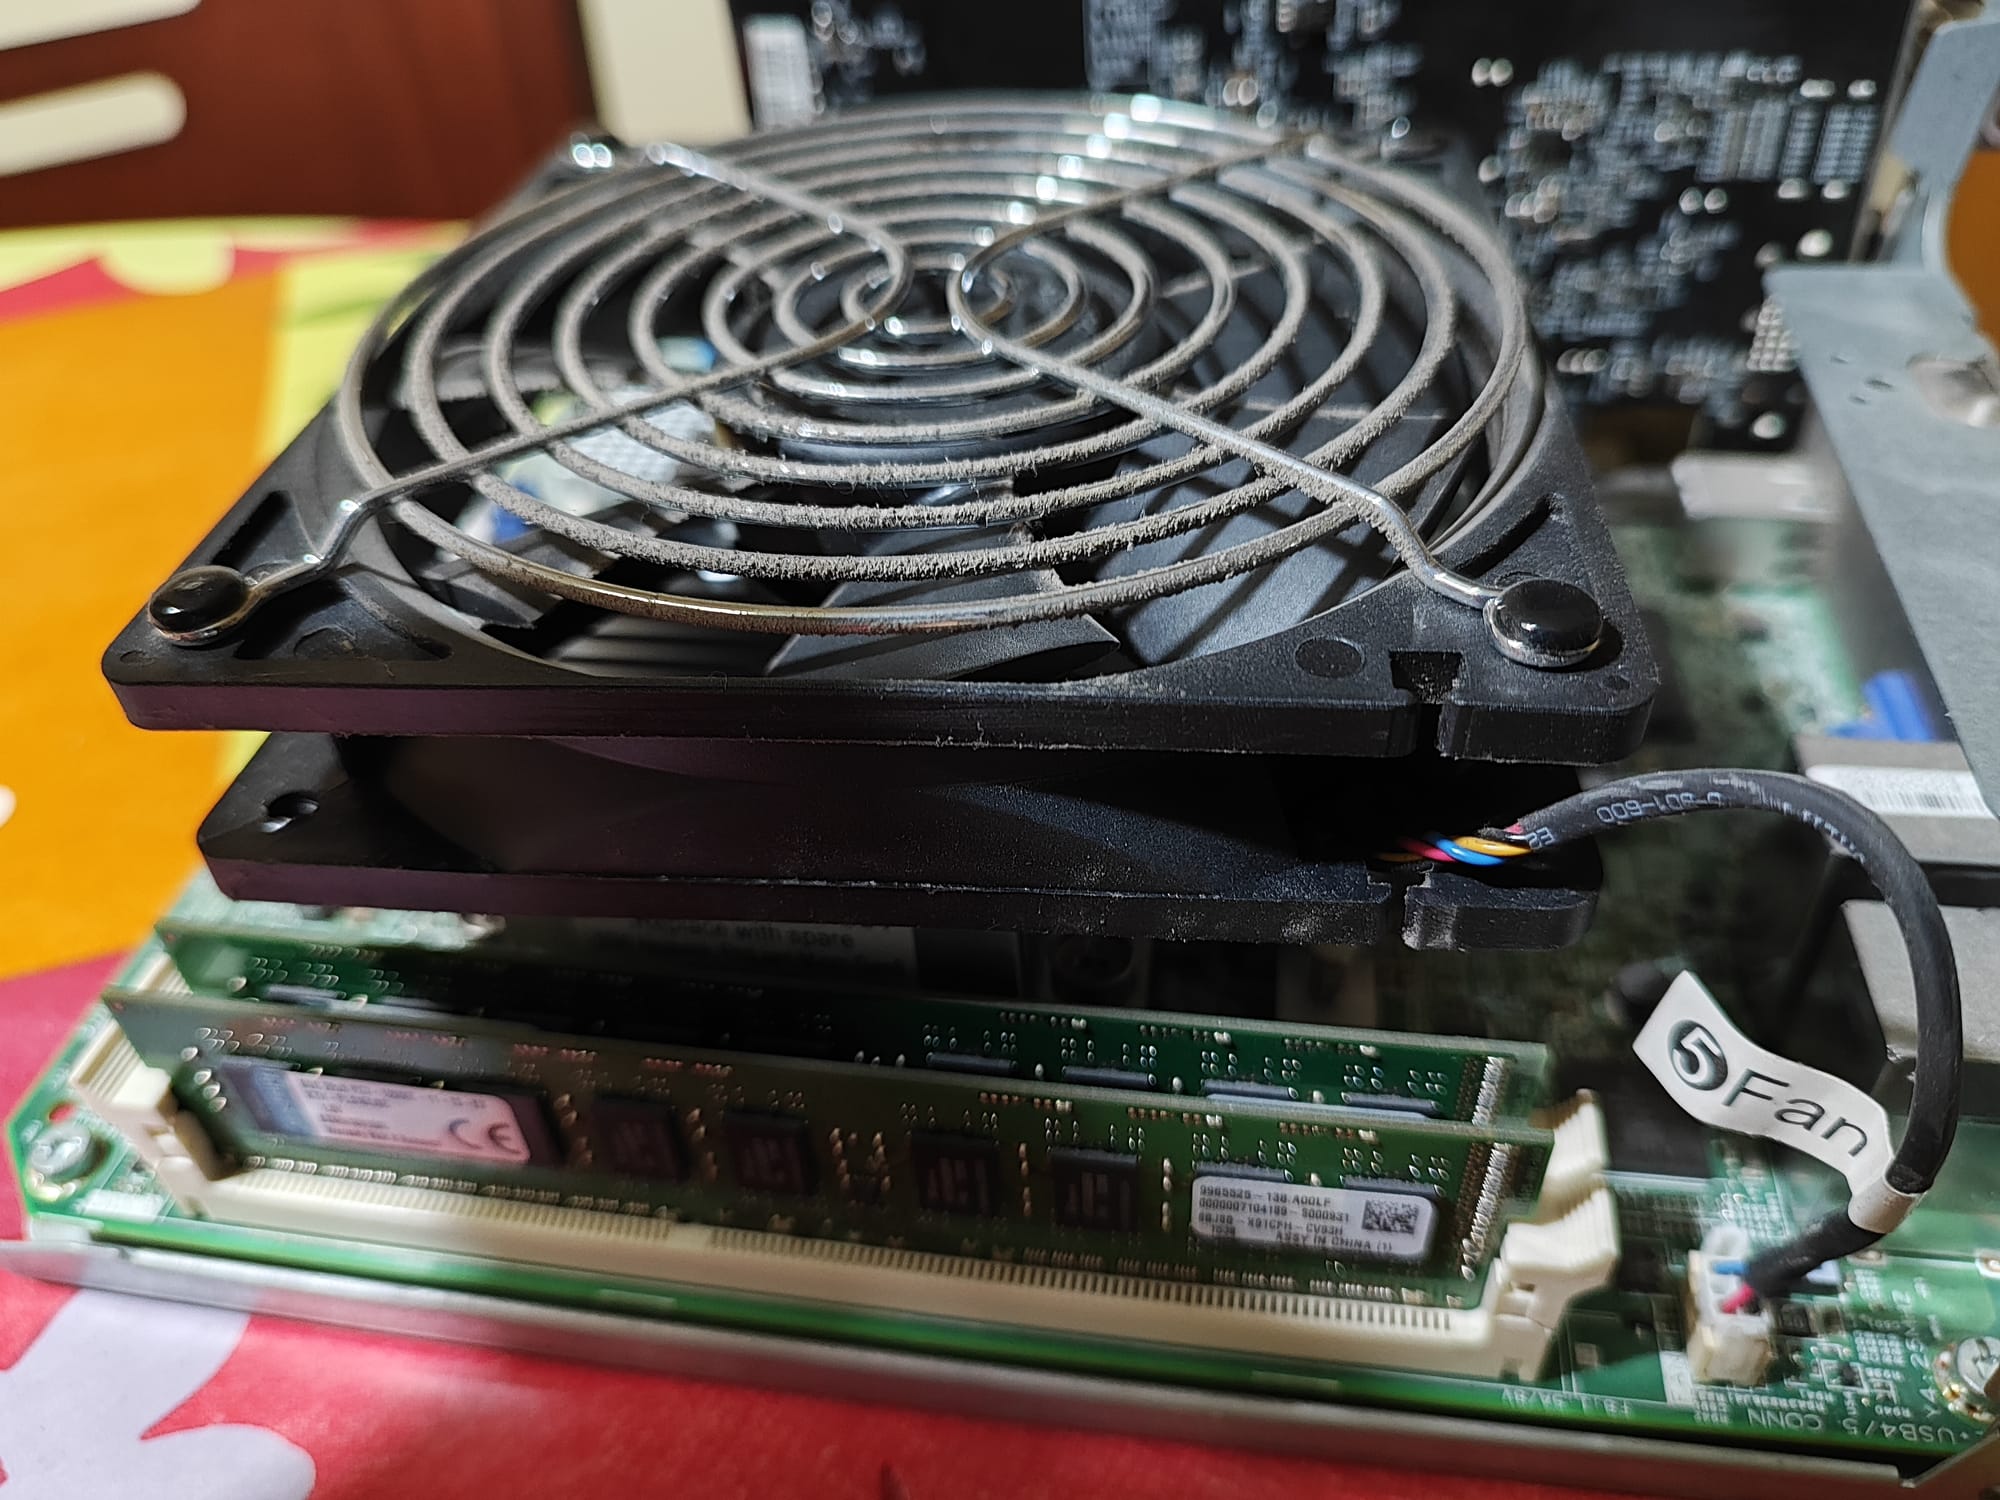
In the other side, we can found the fan connector and the frontal connector (power button and lights) side-by-side of RAM banks:
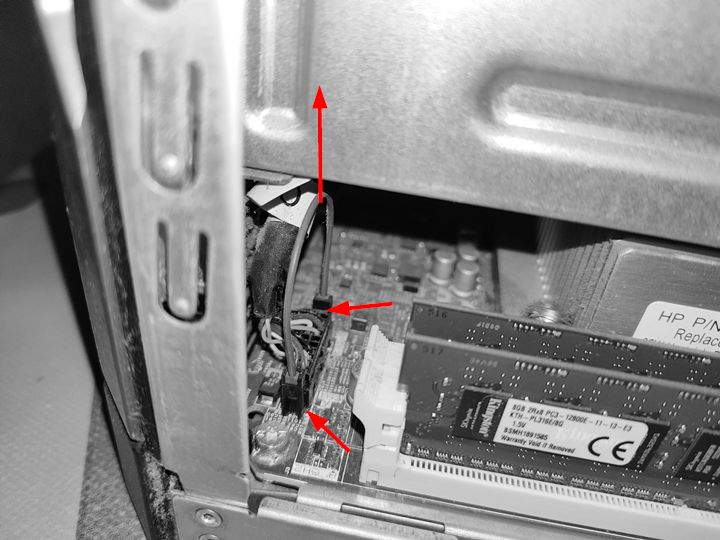
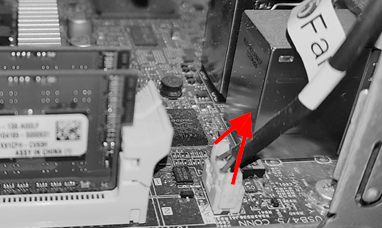
To remove the frontal connector, we need pull from the loop to top. With fan connector, we need to push the tabs to center and raise.
After disconnect all from motherboard, we are going to remove the motherboard section to rest of chassis.
Steps to retire motherboard from chassis and PCIe plate
Push down the tap and raise to back to remove the motherboard section
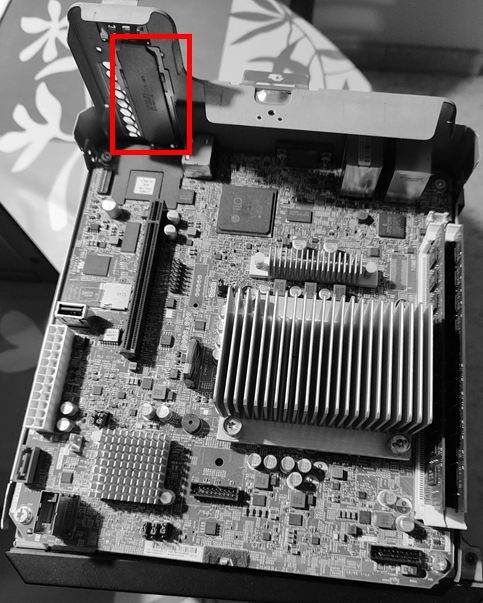
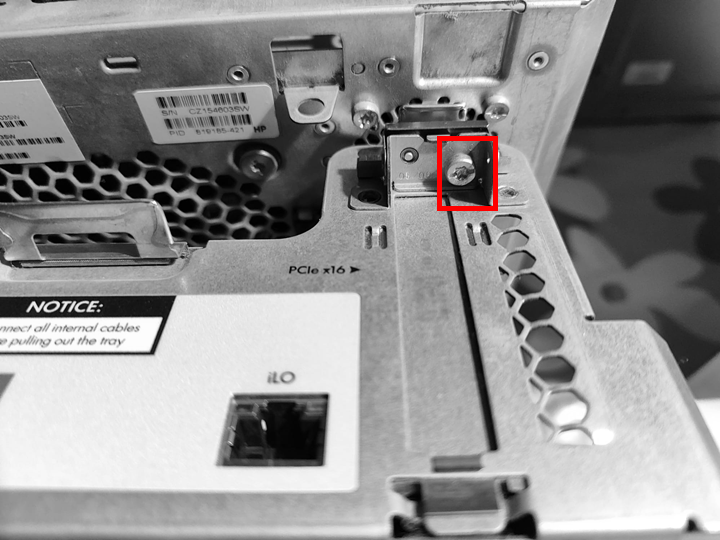
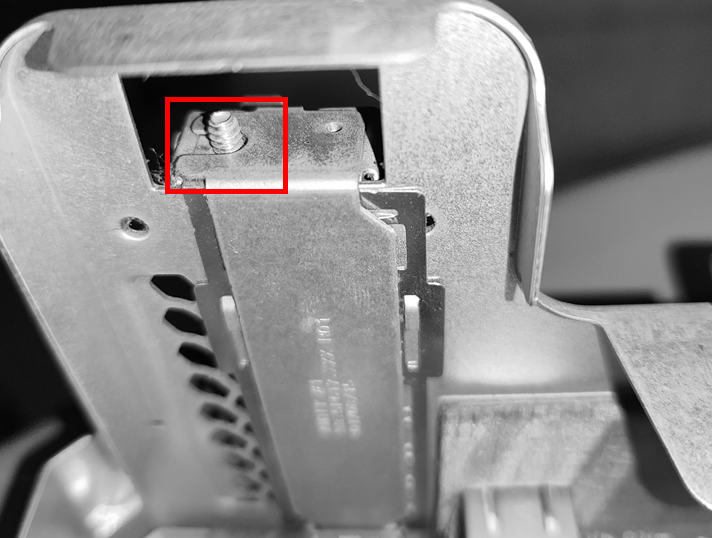
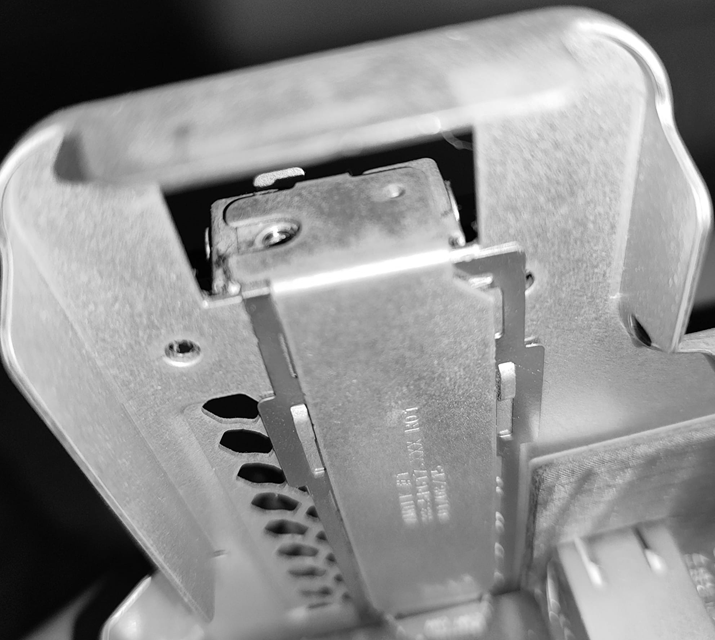
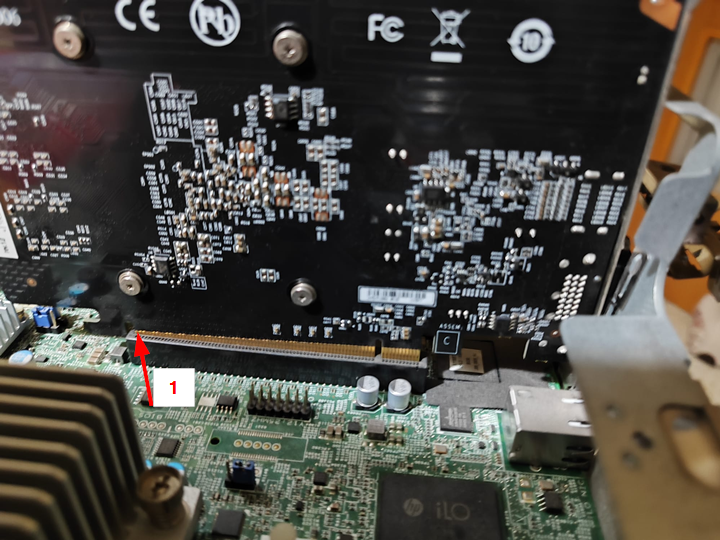
After extract section of motherboard from rest of chassis, we need to remove the plate of expansion slot of PCIe. You need unscrew the crew of plate of back pane slot and remove the plate:
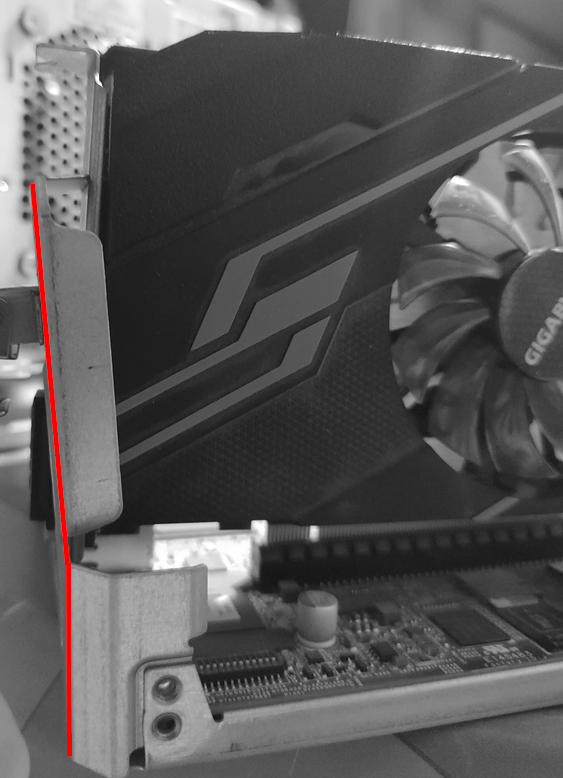
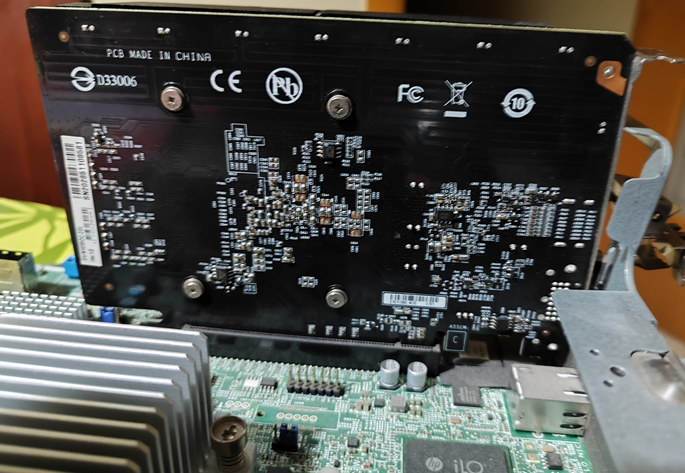
Steps to Install the graphic card
☝️ Maybe you need, as in my chase, force the back chassis. Do carefully but don't worry. I inserted the graphic card, first from end of connectors, next I correctly inserted the plate of connectors forcing the back of chassis and finally I pushed down all card to fully insert.
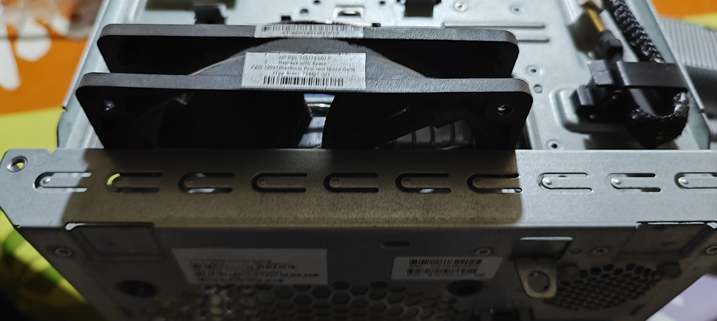
Steps to retire the back fan
To boot the motherboard we must have connected the fan, but after retire the motherboard, the connector not arrive so we need get the fan. We need unscrew the crews and get the fan from top free space:

Connect all cables to motherboard again
Only do you need connect again to motherboard the power connector, the rack connector, the frontal panel and the fan.
☝️ For me will be very helpfull pass all cables from powersupply from whole to exterior:
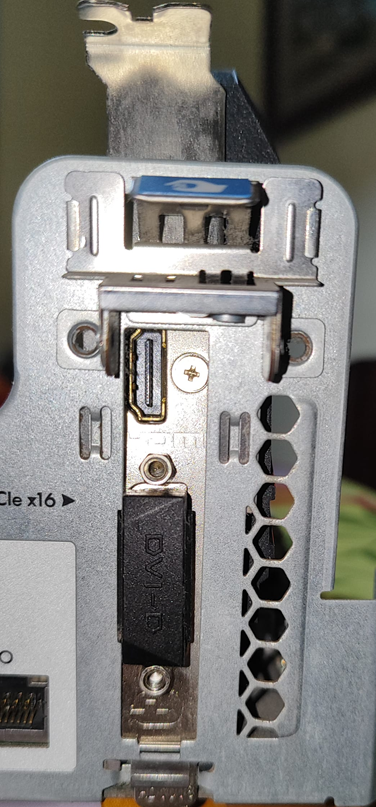
☝️ Now you must connect the screen to output video of external video card.
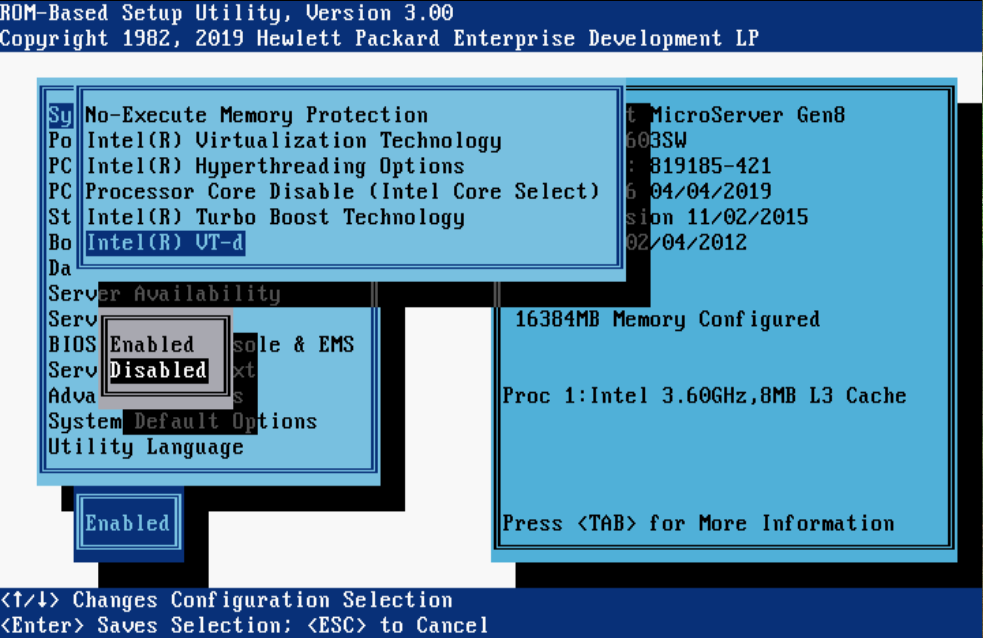
Disable Intel Processor Virtualization
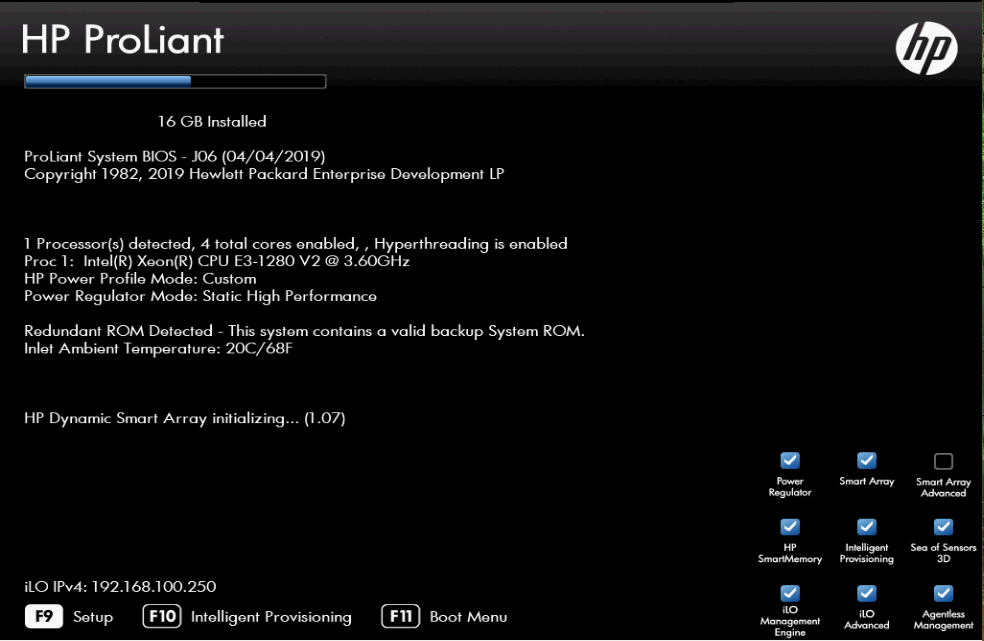
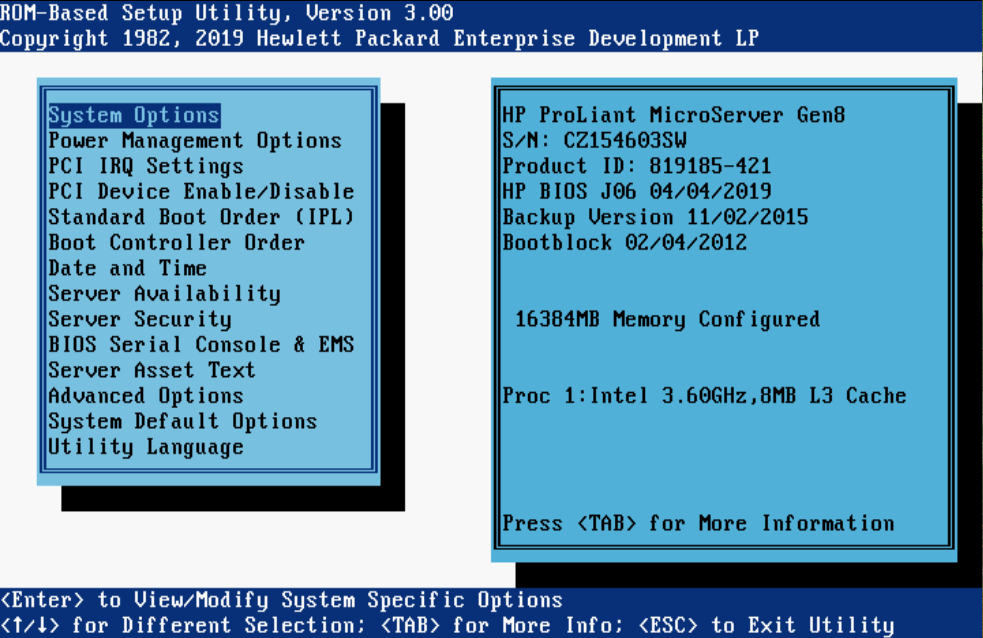
When boot for first time you must disable the processor virtualization. While run the POST boot, press F9 to select the BIOS configuration mode setup:
In BIOS main menu select System options > Processor options > Intel(R) VT-d and select disabled value:

Installation of ZimaOS
In this point you can follow my other article about how to install the ZimaOS over a BIOS motherboards.

Member discussion: